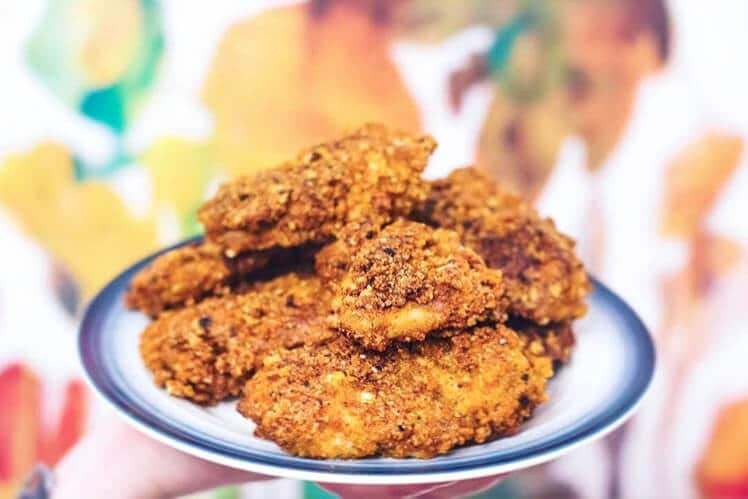
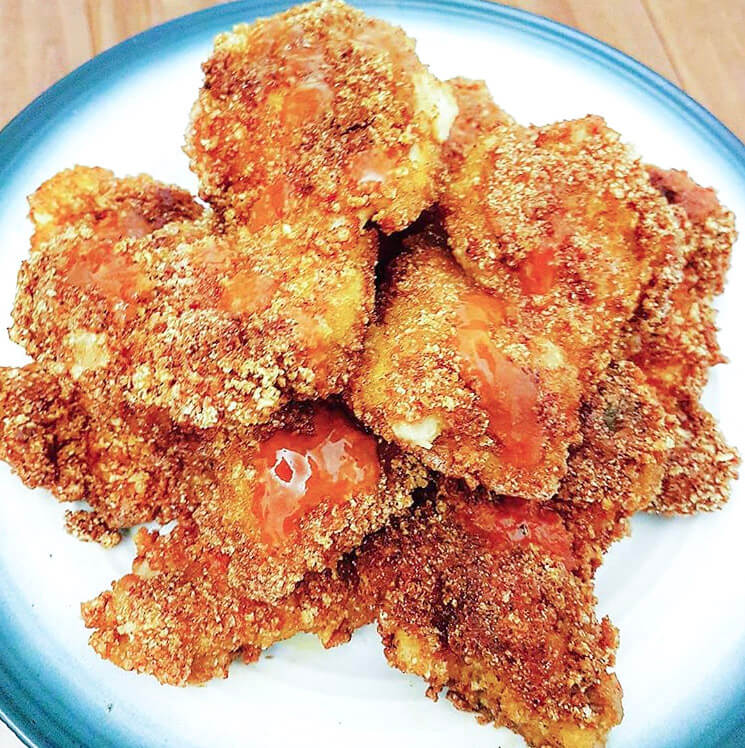
How to Make Keto Fried Chicken: an easy and delicious low carb fried chicken recipe better than traditional!
This is part of a guest contributor series that showcases recipes from others making delicious food. This recipe comes from Katie Scrine of Katie and Keto.
One of the greatest challenges of keto can also be one of the most fun parts of the diet: high-carb temptation foods. When I first started doing the diet, I was all about avoiding even thinking about these kinds of foods, but as time has gone on, I’ve realized that’s no way to live.
The better alternative, at least for me, is to instead think of these foods through a keto lens. Case in point: fried chicken. Crunchy, golden brown, heavily breaded fried chicken.
Who doesn’t get weak at the knees thinking about it? The traditional flour- and carb-heavy coating that encases a lovely, moist piece of chicken has immediately ruled it off the menu for many keto dieters, but that need not be the case!
The solution is a low carb, keto-friendly breading that might even taste better than the Colonel’s secret herb and spices combination. It’s a simple combination of pork rinds, parmesan cheese, and seasonings, and it will seriously knock your socks off.
The better news? It doesn’t need to be limited to the fried chicken dish we’re going to be showing you how to make today. It can be used to coat anything your heart desires: fish, pork, you name it.
When making this breading, you’ll need access to a blender or food processor, because we’re going to be pulsin’ pork rinds. In theory you could do the crunching by hand, but you might not be able to achieve the fineness of crumb that makes for a really nice breading. When selecting parmesan cheese, we usually just got for the cheap “dust in a tube” rather than anything fancy. I am a huge proponent of using quality cheeses, but it’s important to pick your battles. The stuff ain’t cheap, and when it’s being used in a breading as in this case, the money spent on high-quality parm might not be worth it.
We’re going to be cooking with boneless, skinless chicken thighs today, but feel free to apply the recipe to whichever chicken you’d like to fry. Personally, I avoid chicken breasts for dishes like this. They’re prone to drying out and can be tough and flavourless. Thighs are cheaper and more delicious, being loaded with yummy fats and delicious darker meat. But like I said, you do you! As long as we are making fried chicken together, we can be friends.
We would also, as with all meat dishes, strongly recommend the investment in a high-quality digital meat thermometer. Seriously, it’s the best money you’ll ever spend. I would even rank it higher in importance as a kitchen tool than a good-quality chef’s knife! Being able to produce meat that is consistently cooked to a safe degree without being dry and lifeless is a priceless skill to have, and a thermometer takes the guesswork out of things. With the busy work out of the way, let’s make fried chicken!

Keto Fried Chicken
Ingredients
- 8 boneless, skinless chicken thighs (or other cuts of chicken totaling 2 pounds)
- 6 oz pork rinds
- 1.5 cups parmesan cheese
- 2 eggs
- 1/4 cup hot sauce ((I used Franks))
- 2 tbsp Italian herb blend
- oil for frying
- ranch or other sauce for dipping (optional)
Instructions
- Beat your eggs and mix together with the hot sauce, and add a little salt and pepper. Place the mixture in a large bowl and add your raw chicken, tossing to combine evenly. Cover and refrigerate for at least an hour, or for as long as overnight, if you can.
- Add your pork rinds, parm, and Italian seasoning to your blender, and pulse until thoroughly “dustified”. Pork rinds take up quite a lot of space before they’ve been pounded into dust, so you may need to add them to your blender or food processor in batches rather than all at once. Once you have a nice, even, dusty breading, empty into a large bowl.
- Begin heating about a third of an inch of oil in a heavy frying pan. You could do this in a deep-fryer too, if you have one, but we have no such luxury, and a pan works well as far as we are concerned. Take your chicken out of the refrigerator, and set next to your crumb mixture on the counter.
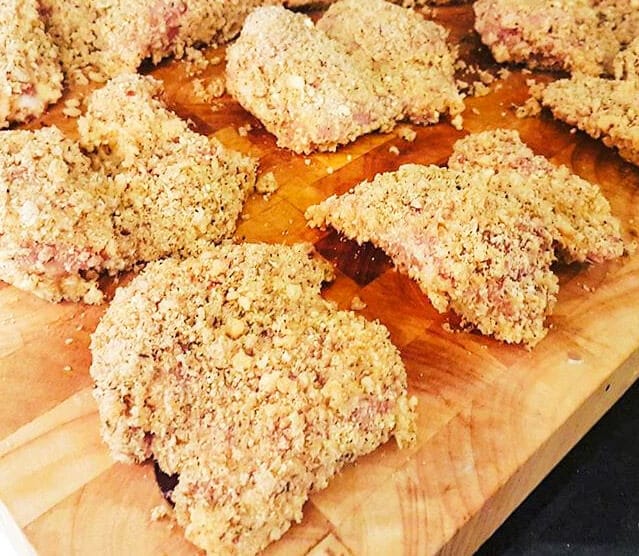
- We’re going to do this slowly and patiently, working one piece of a time, from bowl, to bowl, and into the hot frying pan. Start by taking a piece of chicken from the eggy liquid mixture, and hold it up above the bowl, allowing excess liquid to drip off. Once the chicken is no longer steadily dripping, dredge it through the crumb mixture. You want to really make sure the crumb is getting all over the chicken, so make sure you check it before moving to the fry pan. Once evenly coated, get that chicken sizzling in the pan!
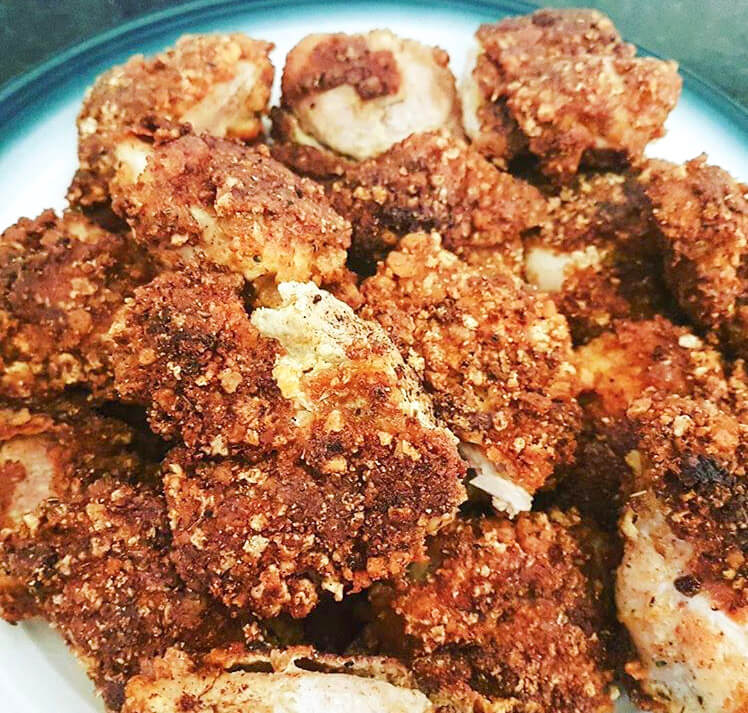
- Repeat the above step until you have a full pan of chicken. Don’t overcrowd! Our pan usually fits 4-5 pieces of chicken at a time, so we tend to cook a big load of chicken in two batches. Cook the chicken for four minutes before turning to cook the other side. In a high heat pan this should be long enough to get a beautiful brown (but not burnt) breading. Start taking temperature readings once you’ve flipped the chicken. After four minutes on the other side, you should be approaching the 165-degrees-F safe zone for cooking chicken, but you probably won’t be there yet.
- To make sure you chicken comes up to temperature, you can continue to flip and check, flip and check but if you’re worried about burning your breading, you could also remove the chicken from the pan and finish it in a 350-degree oven on a lined baking sheet too.
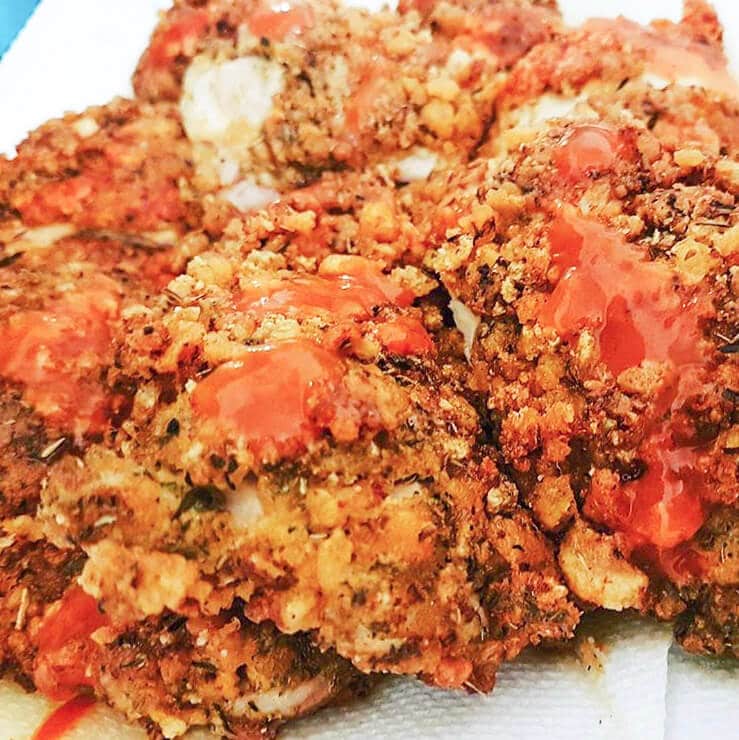
- Once the chicken is thoroughly cooked, place it on a paper-towel lined plate and pat down to absorb excess grease. Serve it up with a ranch-style dipping sauce, or even all on its own.
Yummy! Thanks for sharing this great recipe!