Disclaimer: This post is in collaboration with Subpod but as always, all opinions and experiences are 100% my own.
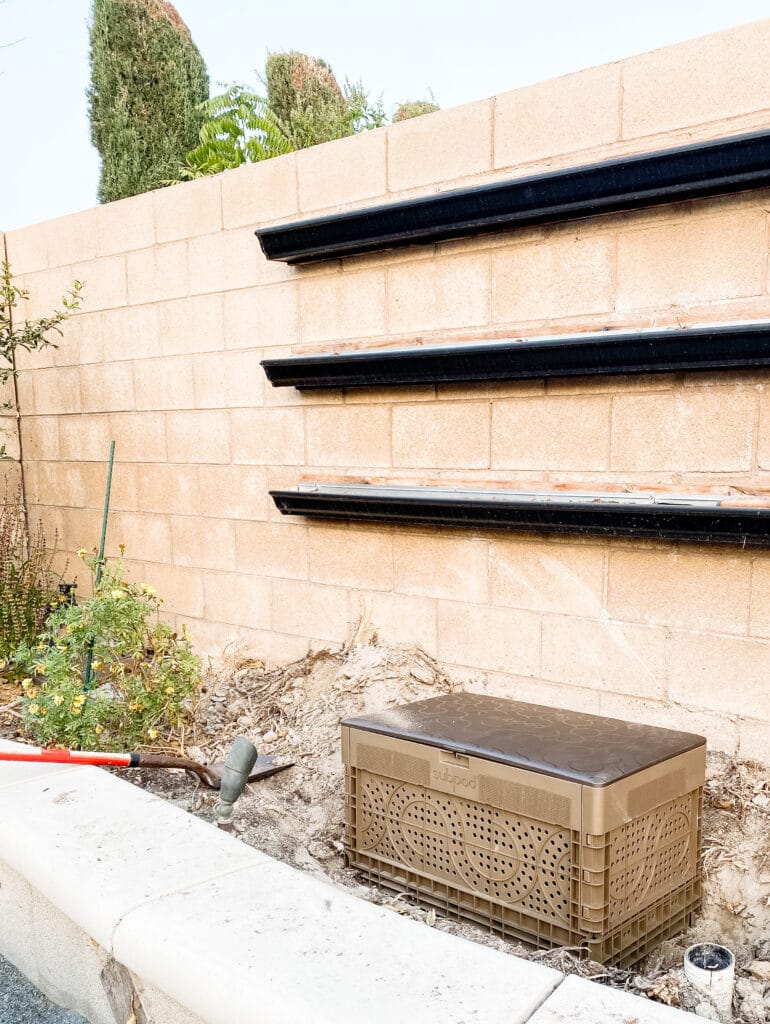
Today I’m talking about the Subpod compost system!
As part of our massive backyard makeover, I also finally created a garden space. One of the things I really wanted in the space was somewhere to compost. I have a relatively small space for the garden though so there wasn’t a whole lot of extra space I could put a compost system.
Enter Subpod.
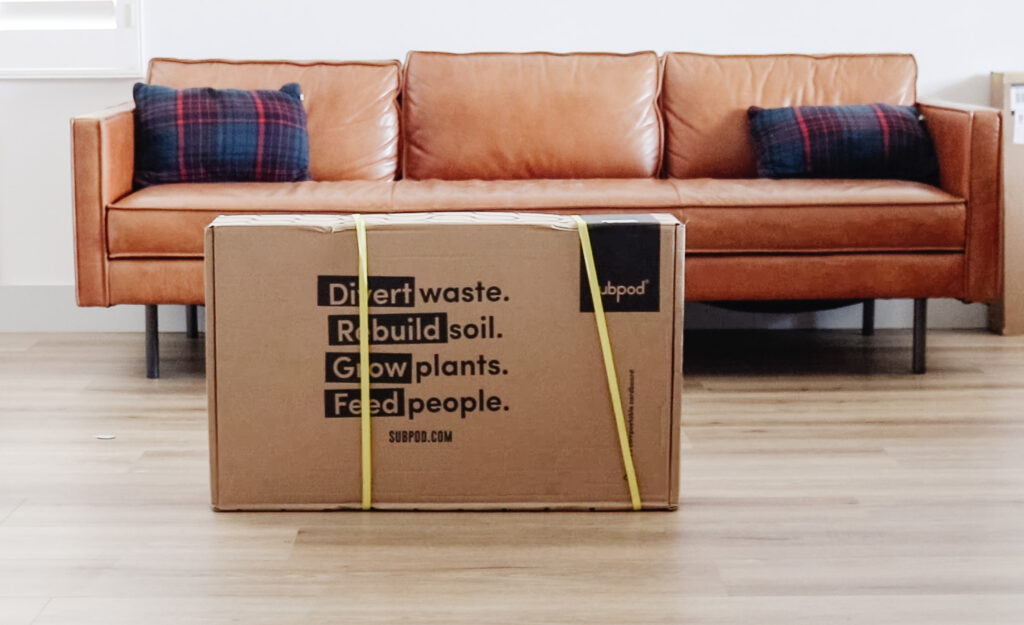
What is Subpod?
For starters, if you’re unfamiliar let’s talk about what Subpod is. Essentially, it’s an in-ground compost system and worm farm. The worms that live inside Subpod turn the things you feed them (like food scraps, coffee grounds, etc.) into compost which you can use in your garden. An added benefit is that because Subpod is meant to be in the ground in the garden, the nutrients from the compost can also feed the plants that are in the same garden bed as the Subpod.
Subpod says that you can compsot up to 44 lbs. of waste per week. You can learn more about how it works here.
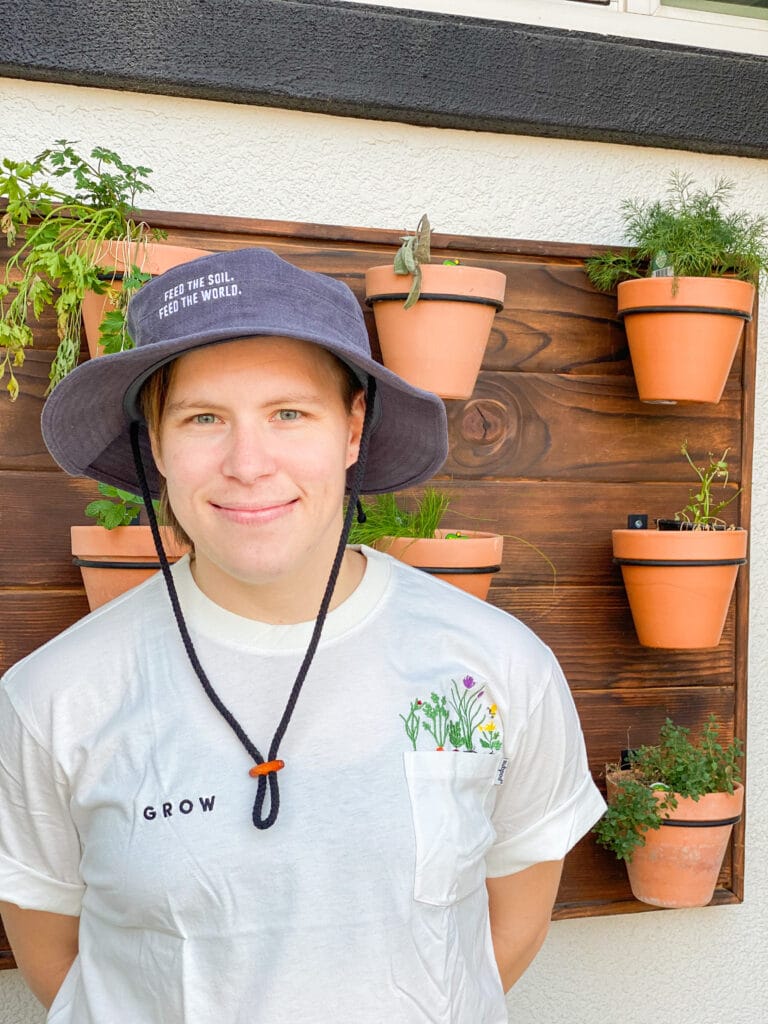
I got the Subpod Essentials bundle but they also have different sizes and set ups depending on your needs. Subpod also sent me this great bucket hat and t-shirts. My new favorite garden hat for sure!
Why did I get a Subpod?
As I mentioned, one big reason was that it fit my needs for the space I have available. But bigger than that, one of my goals is to become more aware of the waste we produce. I have always loved the idea of composting and think it’s really incredible to be able to take trash or waste and turn it into something beautiful and edible (such as vegetables).
However, traditional composting can sometimes be difficult or at least more maintenance. I did it previously in a trash can and it just took more work turning it, making sure the temperature was always right, etc. Plus, to be perfectly honest, the trash can wasn’t the most aesthetic thing in my yard.
I like that Subpod is underground so you don’t have to see or smell it, plus it looks nice and even provides a little seat in the garden, perfect for my urban space. In my garden, it also serves as a step up to the rain gutter garden that I have on our wall.
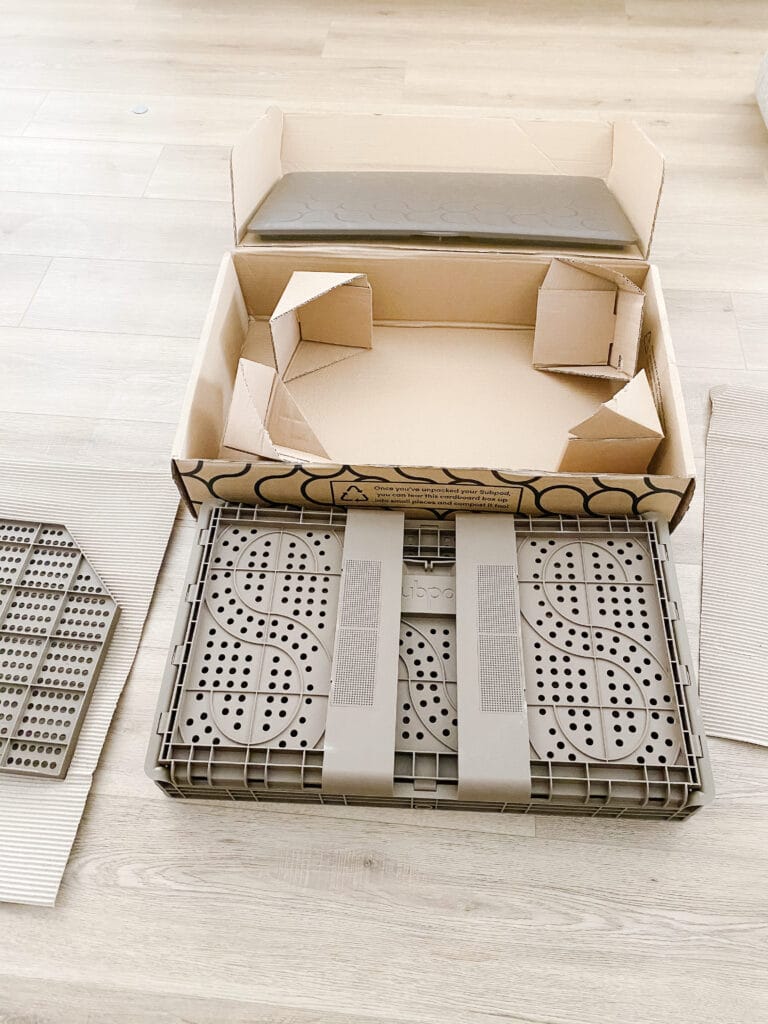
Setting up Subpod
The Subpod is pretty easy to put together and only took about 10 minutes or so. Once it’s put together, you just dig a hole for it in the garden. Subpod also offers a garden bed that you can put it in but for my space it made the most sense to put it in the existing bed.
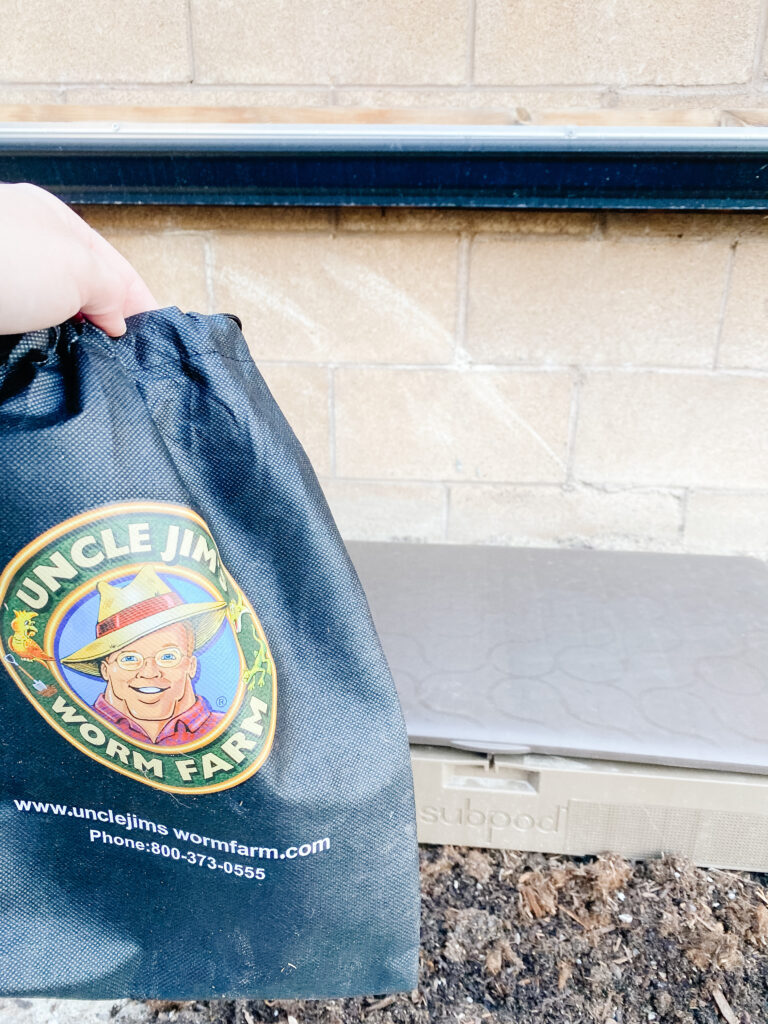
Once it’s set up, you order and add your compost worms. I got 2,000 compost worms from Uncle Jim’s worm farm. It takes a week for the worms to get acclimated and then you can start adding food and watch the worms get to work!
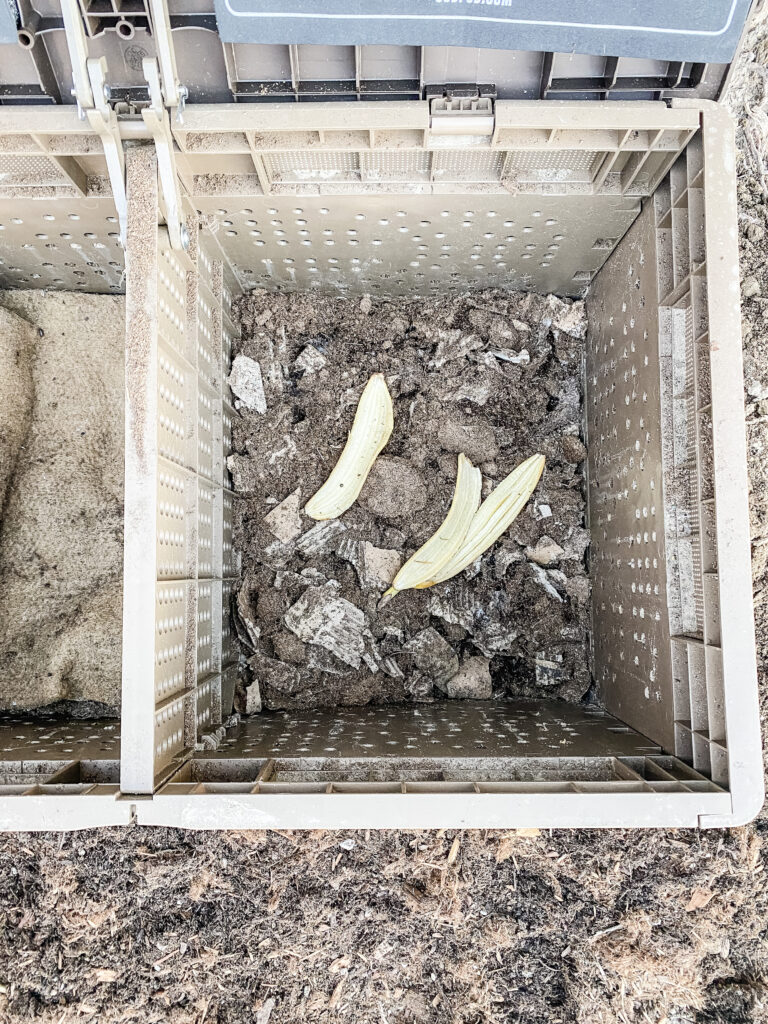
We’re just getting started but I’m really excited to see how Subpod works for us in the garden! I plan on writing follow up posts about our experience and how it’s going so stay on the look out for those!
Leave a Reply